Making homemade soaps is a great, fun alternative to buying the same old soap at the store.
But like anything, it too can become a bit mundane if you do not spice things up from time to time.
That is why we have brought together three great recipes to share with you to mix things up with your homemade soaps.
If you are new to this topic, it may be helpful to briefly go over a few of the reasons why people make it and some of the basic tools involved.
Let’s get right into it.
Why Make Soap?
There are several reasons why learning how to make soap at home is a good idea.
Avoid Harmful Chemicals
Like many products, there are soaps out there that may contain undesirable chemicals or have been subjected to a certain process that does not agree with a person’s skin.
Believe it or not, a fair number of people have a difficult time finding a soap that does not excessively dry out their skin or cause redness and irritation.
Making soap at home allows a person to handpick the ingredients they want while leaving out the ones they do not.
By having greater control over the process, homemade soap can be customized to the requirements of an individual’s skin.
Save Money
Most store-bought soap is not terribly expensive but homemade soap is still cheaper.
The most expensive part of making soap is the startup cost invested in the tools.
I will discuss the tools in greater detail later but once they are purchased, they will last an incredibly long time.
The consumable supplies that go into a bar of soap are very affordable, so the end cost of a bar of soap is quite cheap.
Be Prepared
The marketplace goes through cycles of supply and demand and worst-case scenarios of product shortages and even the supply chain from being cut off.
However, if the supplies and soap making knowledge are available at home, soap can always be made. Even when it is not available anywhere else.
Personalize It
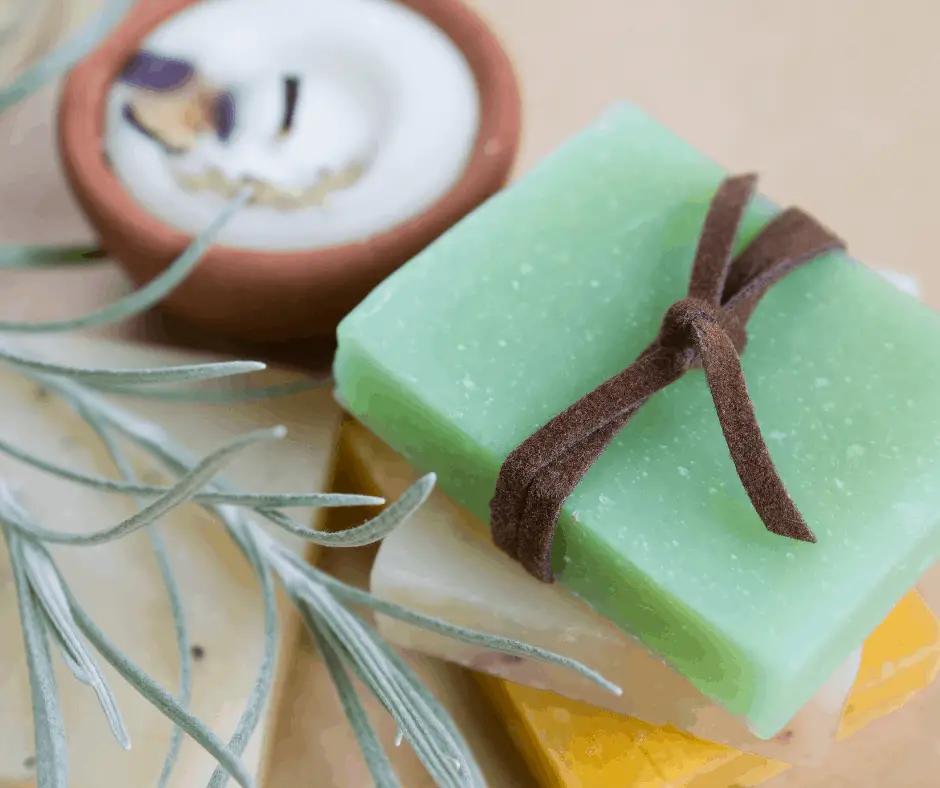
Homemade soap can be highly personalized.
From the shape, imprinted designs, scent, color, texture, and size, making soap at home is uniquely your own. Plus, it is fun to make!
Tools Needed for Making Soap at Home
There are different methods for making soap and the tools that you use will depend on the method you choose.
Here are some of the basic tools you will need for making soap at home.
Mixing Bowls
The quickest way to melt soap base is by using a microwave which is why the containers should be microwavable. Pyrex works great for this.
Stirrers
Pretty much any kind of utensil can be used for stirring the melted soap base and for mixing in scents and colors.
Heat Source
As mentioned earlier, a microwave is the quickest way to melt the soap base and almost everyone already has one.
An alternative method is to use a double boiler. This is where a pot of water is warmed up on the stove and a separate container with the soap base is placed into the hot water.
Soap Molds
Cooking pans can be used for large batches but sometimes the soap can be difficult to remove and then it must be cut into bars.
While it may cost a little bit more money, silicone soap molds are a great investment. They come in different shapes, there is no need for cutting, and the finished soap pops out of the mold with ease.
Cutter
A wire cutter or large knife will be needed for cutting the soap base to prepare it for melting.
They will also be needed to cut the large, finished soap if you do not use smaller molds.
Spray Bottle
This is used to spray alcohol on the surface of finished soap to reduce air bubbles.
It is also sprayed in between the layering of soap when a bar has different layers.
Alcohol
Used for the purpose explained above.
Scents
From pine trees to lavender, to coffee, there are a lot of different scents to choose from to make your soap smell exactly how you want.
Colors
Most soap base comes in a neutral white or clear color. Spice up your bars by adding your favorite colors to them.
Best Soap Recipes: My Top 3 Picks
Rosemary Lemon Soap-on-a-Rope
I have always been a bar soap guy and I have always enjoyed soap-on-a rope.
Most people whom I’ve talked to think soap-on-a-rope is a bit gimmicky, but it has two practical purposes.
First, the rope allows the soap to be hung up and allowed to dry after use. The alternative is to place it on the shelf in a puddle of water where the bar becomes soft and messy.
Secondly, the rope can be held in the hand or wrapped around the wrist. When lathering up, a wet bar of soap can easily slip from your grasp and go sliding around the bathtub.
But this does not happen with soap-on-a rope.
Here is a great recipe that I found on GardenTherapy.com for making soap-on-a-rope.
What you will need:
- 3lbs shea butter soap base
- 2 tablespoons rosemary leaves
- Zest from one lemon
- 1 teaspoon rosemary essential oil
- 1 teaspoon lemon essential oil
- Pyrex 4-cup measuring cup
- Microwave or double boiler
- Cookie sheet (9 x 13)
- Star cookie cutter
- Spray bottle of isopropyl alcohol
- Screw
- Cotton twine
Step 1
The shea butter soap base needs to be cut up into one-inch cubes and then placed into the Pyrex measuring cup.
Step 2
The base now needs to be melted in a microwave or a double boiler.
I have found that this step is rather critical because you want the soap to melt but not cook.
As soon as the soap base is melted it should be removed from the heat source.
When melting soap base in a microwave it is best to do so in small increments of time and to check it frequently.
It is okay if there are small chunks of soap in the melted base after heating. If you continue to stir it, the chunks will eventually melt.
Step 3
Add in half of the herbs, lemon zest, and essential oils. The remaining ingredients will be saved for later.
Step 4
Now, pour the melted soap base into the cookie sheet, being sure that the entire pan is filled in.
This should produce a one-inch-thick layer of soap base.
Step 5
Sprinkle the remaining ingredients on top and spray the surface with isopropyl alcohol.
Step 6
Set the cookie sheet on a flat surface and allow it to dry and harden. This should only take about thirty minutes but if you wait a bit longer that is okay.
It is better to give the soap base a little more time to harden than to dig into it too soon.

Step 7
After the soap base is dry, use the star cookie cutter to cut the soap base.
Obviously, you can use any kind of cookie-cutter shape you want to personalize the soap.
Additionally, there are silicone molds available that come in many different shapes.
Step 8
Use a screw to make a hole anywhere on the soap you like and thread a length of cotton twine through it.
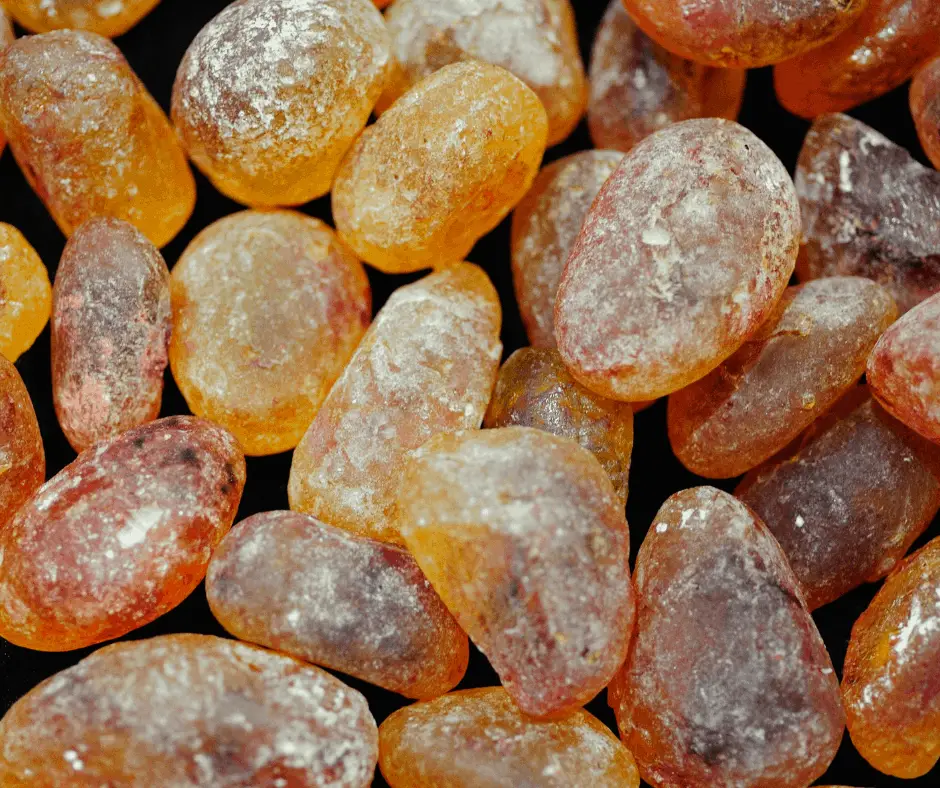
Amber Fossilized Insect Soap
This is another soap recipe from gardentherapy.com and I could not pass up sharing it because it sounds very cool and fun, especially for kids.
What you will need:
- 2lbs honey glycerin soap base
- 4 cup Pyrex measuring cup
- Microwave or double boiler
- 1 teaspoon essential oil
- Silicone soap mold or cupcake mold
- Small plastic bugs
- Saffron
Step 1
Place a plastic bug into each of your soap molds.
Then cut the glycerin soap base into one-inch cubes and melt them in the microwave or double broiler.
Step 2
After the soap base is melted, add in the essential oils.
Step 3
Add in one tablespoon of saffron and mix. The saffron will take on the appearance of veins in the amber.
Step 4
Pour the melted soap base into the molds to cover the plastic bugs.
Depending on the plastic bugs used they may start to float and rise when the soap is poured in.
If this happens, only fill the mold half full and allow it to harden. Then fill in the rest of the mold, covering the insect.
Step 5
Once the soap has cooled and hardened, this fun and insect infused hand soap is ready to be used.
Japanese Cherry Blossom Loofah Soap
Using a loofah with liquid soaps or body washes is a pretty popular option these days.
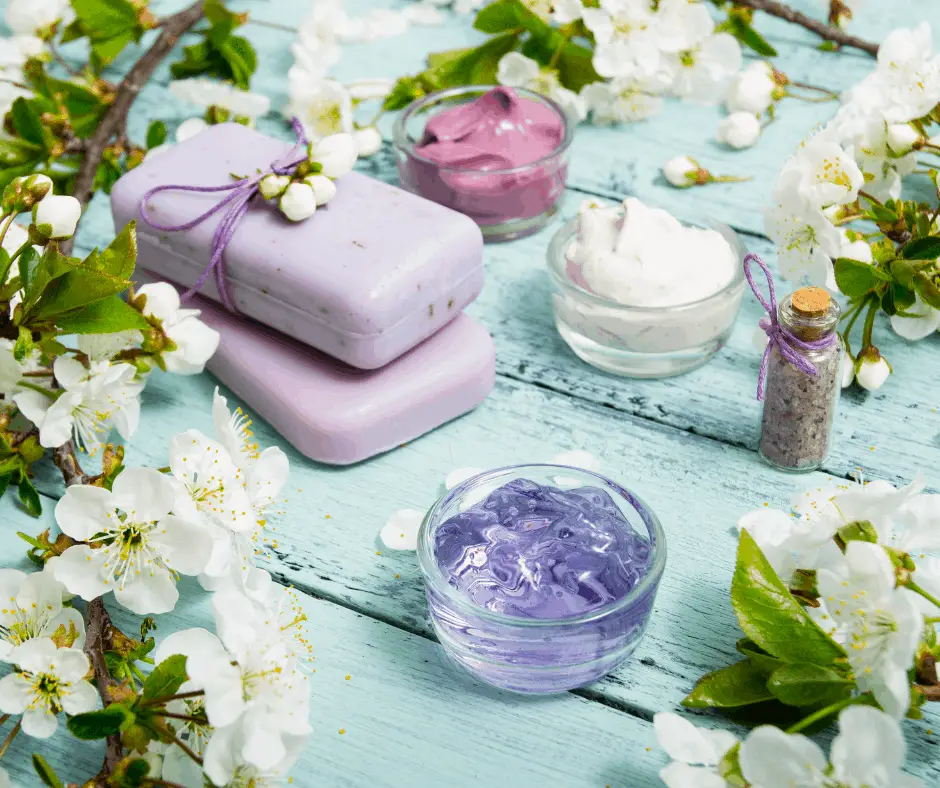
Body washes produce a lot of suds and a loofah is great for wiping away grime and exfoliating the skin.
But if you want to stick with your bar soap and use a loofah?
Here is a recipe from Nothing Else Lathers Handmade Soaps that puts the scrubbing power of a loofah right into the bar of soap.
What you will need:
- 1lb Goat milk soap base
- Microwavable container
- Stir rod
- Japanese cherry blossom fragrance oil
- Loofah
- Utility Knife or scissors
- Silicone mold
- Spray bottle (optional)
- Isopropyl alcohol (optional)
Step 1
Loofahs come in all sorts of shapes, sizes, and textures. The one used in this recipe was cylindrical and rigid which is why a utility knife was used to cut it.
If you use a softer material, then a pair of scissors will do fine.
Here, a one-inch circle was cut off from the loofah, but you can cut the loofah to the proportions you want.
Once the loofah is cut, place those pieces into the soap molds.
Step 2
Cut the goat’s milk soap base into small cubes. The smaller they are cut the quicker they will melt.
Place the cubes into a microwavable dish or double boiler and melt them.
Remember, you want to melt the base but not cook it.
Step 3
Add in the approximately 10-12 drops of the fragrance scent and stir.
Step 4
Pour the melted soap base into the molds covering the loofah pieces.
Step 5
Spray the surface of the soap base with a few spritzes of isopropyl alcohol.
This helps to get rid of any air bubbles and makes the soap look nice.
This step is optional and skipping it will not harm the usability of the soap.
Step 6
Allow the soap to dry, cool, and harden in the molds at room temperature for at least forty-five minutes.
Step 7
Once the soap has hardened, it can easily be popped out of the molds and are ready to use.
Wrap Up
There you have it, three creative recipes for making soap at home.
Thanks for reading and stay clean!
Do you have a favorite, creative soap recipe? Sound off in the comment section below and let us know about it!