Making homemade soaps has become an extremely popular hobby to get involved in. In fact, my wife became interested in the process years ago and still makes it today.
There are several different methods for making soap at home, but I wanted to share what I believe to be the easiest method in case you ever wanted to try it for yourself.
The following is the easiest way to make soap that I have found because it uses ready to use soap base and from start to finish, a bar of soap can be made in about one hour.
What You Will Need: 8 Necessary Items
Soap Base
The soap base is basically ready to use soap. It comes in a solid block that can be used as-is for soap or cut into cubes, melted, and made into a personalized bar.
Soap base comes in different kinds such as glycerin or goat’s milk but since I have had great success with goat’s milk soap base, that is the kind I will be talking about throughout the article.
Cutting Tool
The soap base comes in a large solid block that needs to be cut into cubes to make it easier to melt. You can purchase a wire cutter for this or just use a large kitchen knife.
Microwavable Bowl
There are two ways that the soap can be melted. The first is by using a double boiler. When you use a double boiler, the soap base is put into a container that is then put into a pot of boiling water.
The second way is to melt the base in a microwave. I have found this way to be much easier to control without “burning” the base. So, you will need a microwavable container like a Pyrex bowl.
Stirrer
A simple stirring utensil will be needed for stirring the melted cubes and mixing in any additives, scents, or colors.
You can pretty much use anything you want but I have had good luck with glass stirring rods. A thin stirring device means less soap base is lost that sticks to the utensil.
Colors
Mica powder is a common coloring agent used to give homemade soap a more personalized look. This coloring agent can come in powder or liquid form.
Scents
Other than color, what soap smells like is one of the main deciding factors of why a person uses it. Certain scents and essential oils give homemade soap the smell we are looking for in our hygiene experience.
Spray Bottle with Alcohol
A spray bottle with 91% isopropyl alcohol is optional. This is used to spray the soap after it is in the molds to eliminate air bubbles and gives the bar of soap a nice appearance. This is purely for aesthetic reasons and if you skip it this step, it will not harm the function of the soap.
However, if you get into layering soap then it is something you will want. Spraying the soap helps the different layers adhere better to one another.
Molds
A regular old cooking pan can be used for pouring the melted soap into. But this requires the additional step of removing the large block of soap and cutting it into bars.
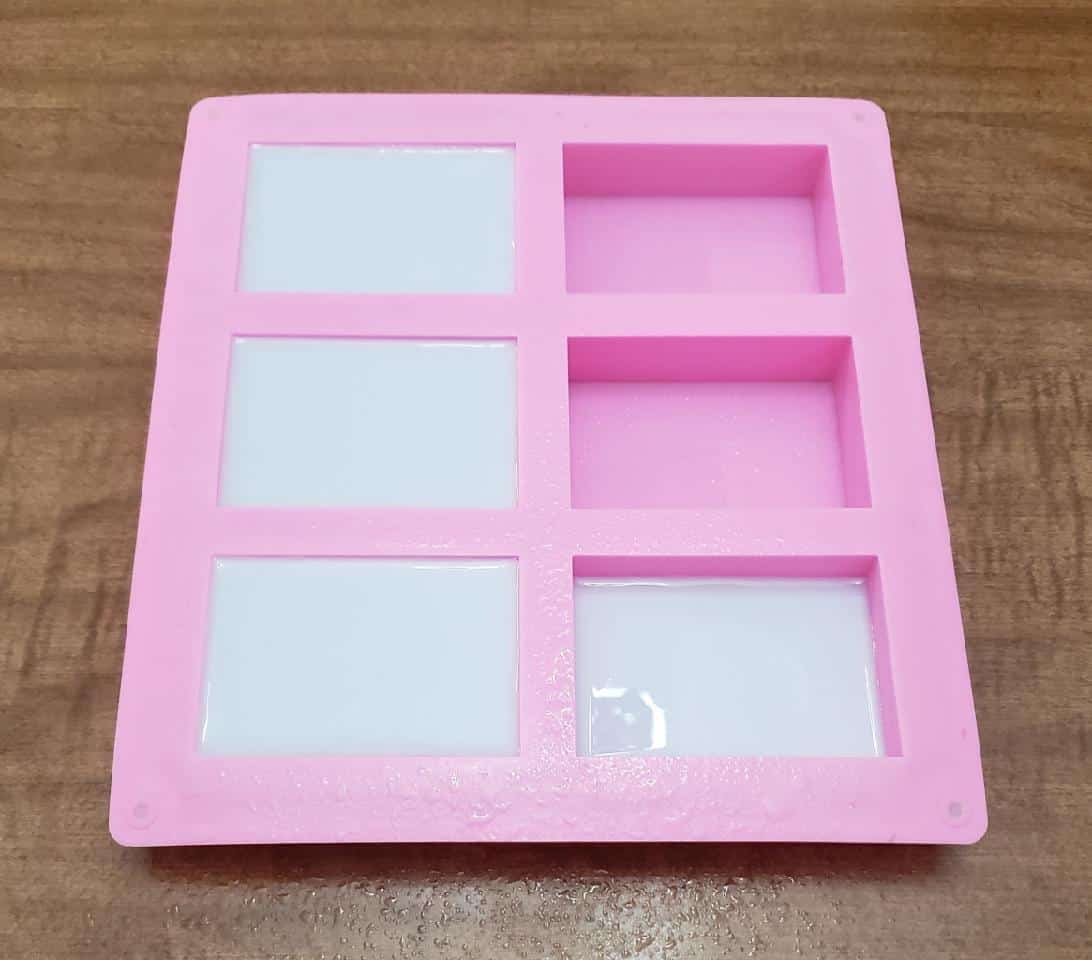
If you plan on making soap regularly, silicon molds make the process so much easier. The melted soap base is poured into the molds and after it is hardened the bars are easily removed.
Step by Step Process to Make Soap at Home
Step 1
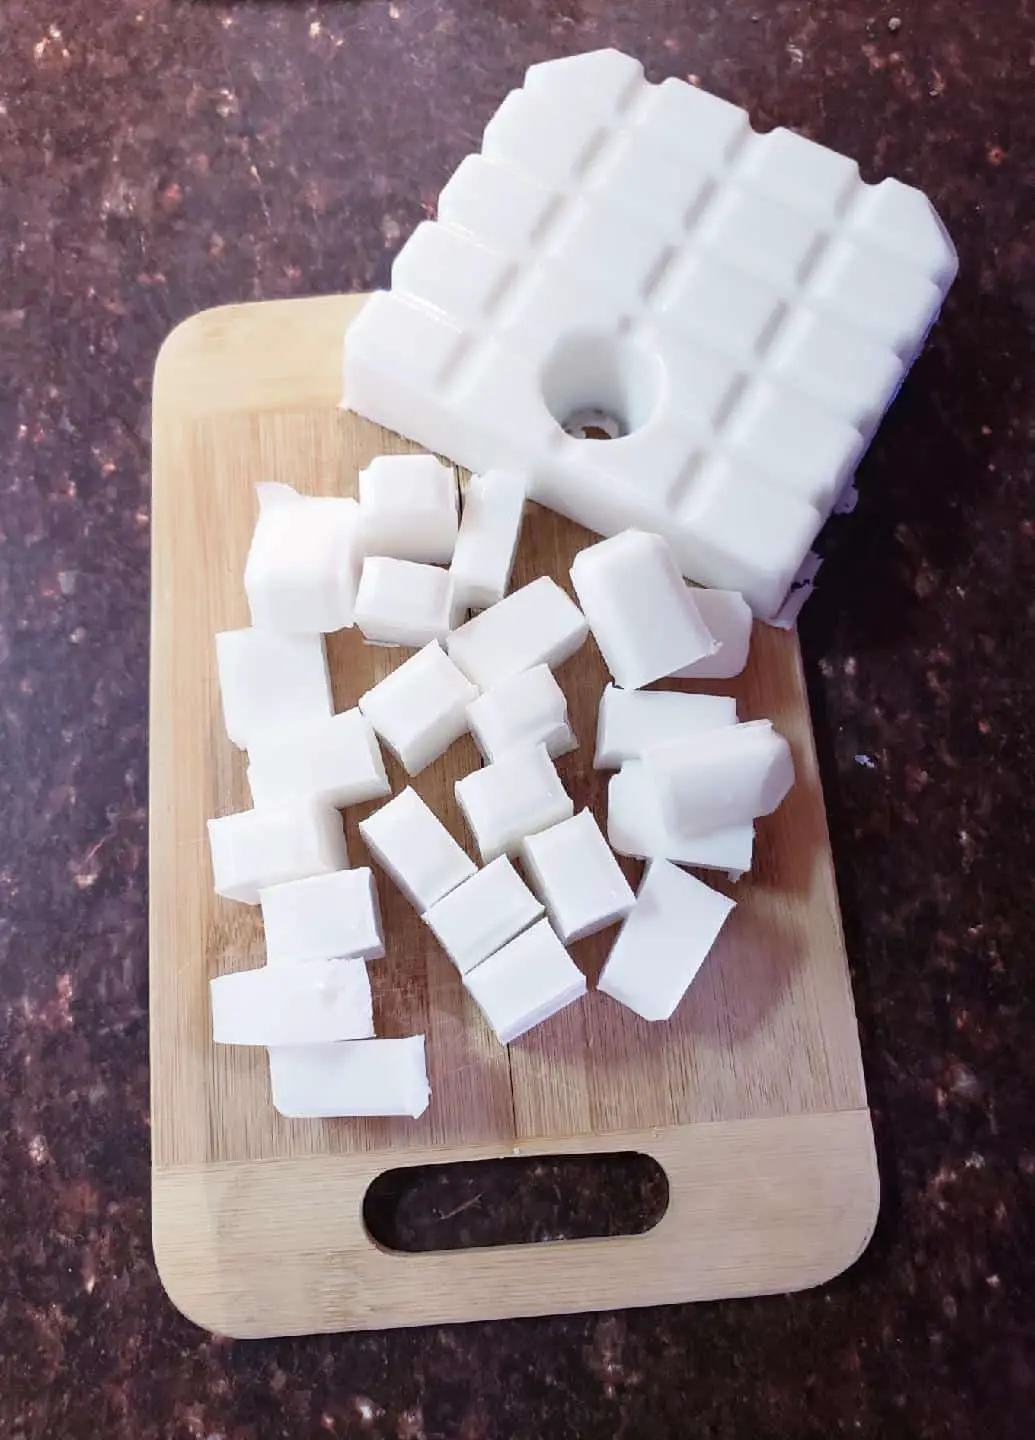
Take the soap base out of its container and cut it up into small cubes. The smaller the cubes are the quicker they will melt in the microwave. One pound of soap base will make approximately three to four bars of soap.
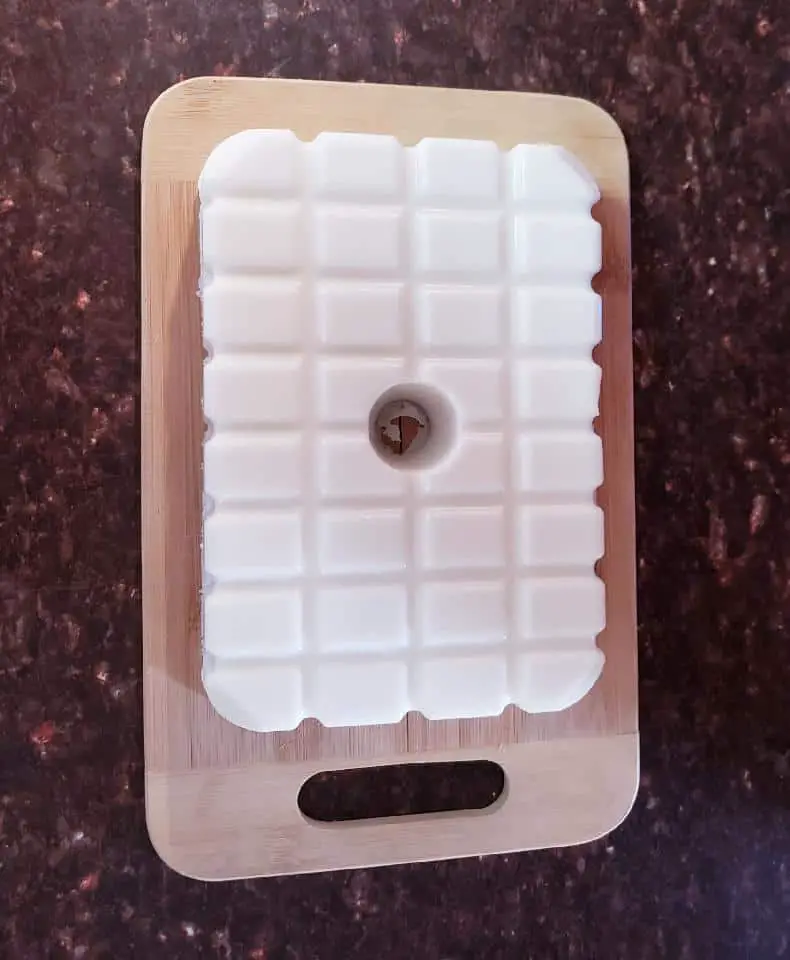
Soap Base 
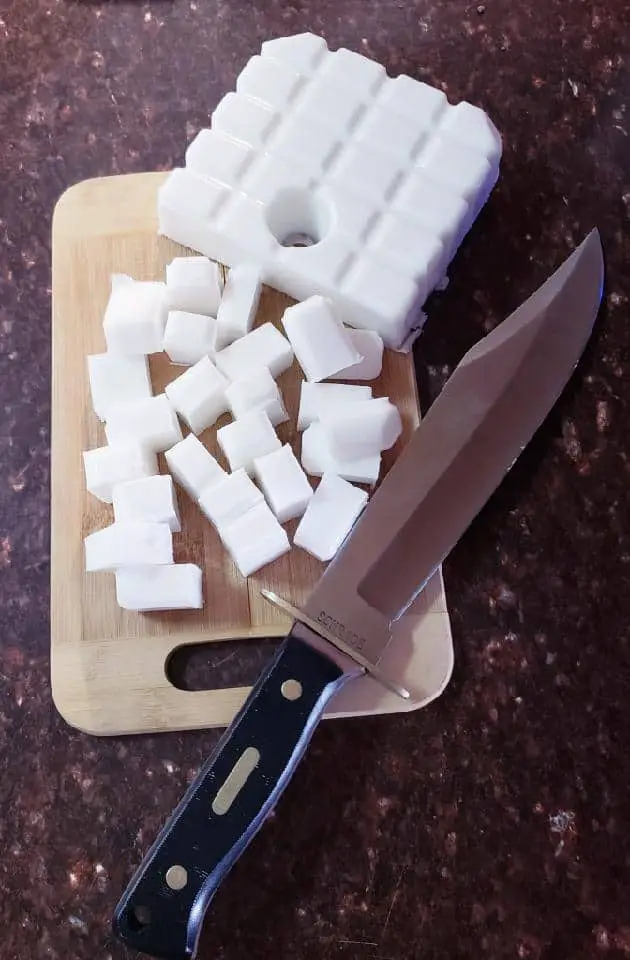
Small Cubes 
Cubes before melting 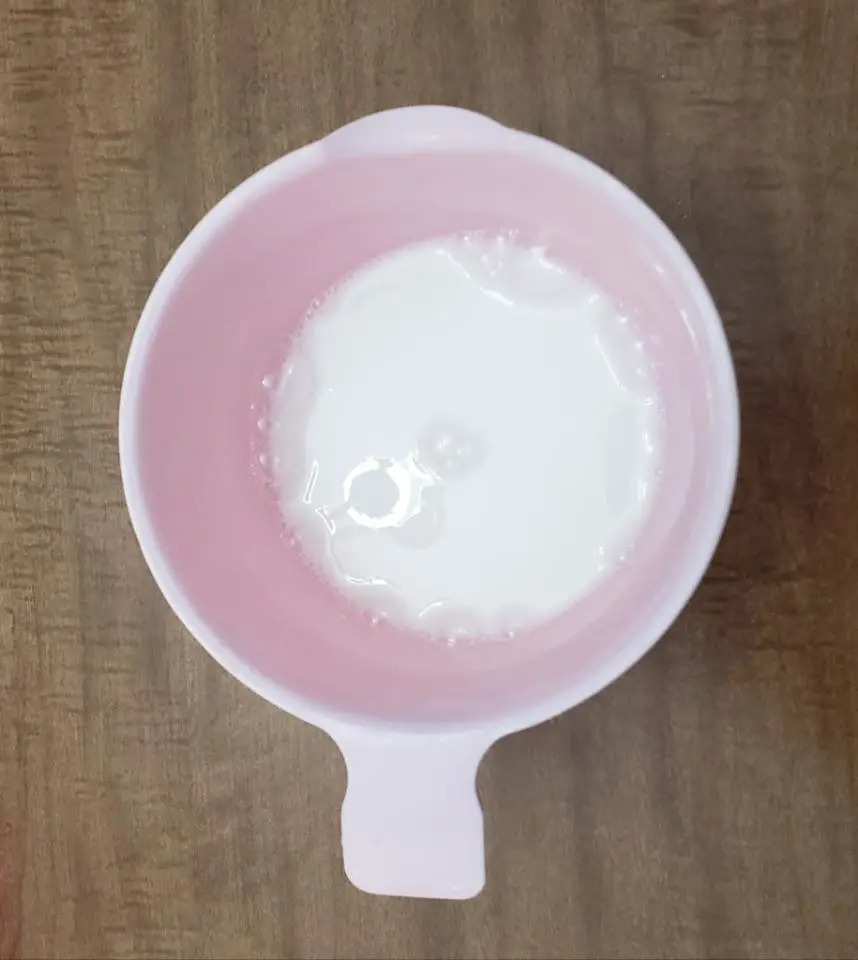
After melting
Step 2
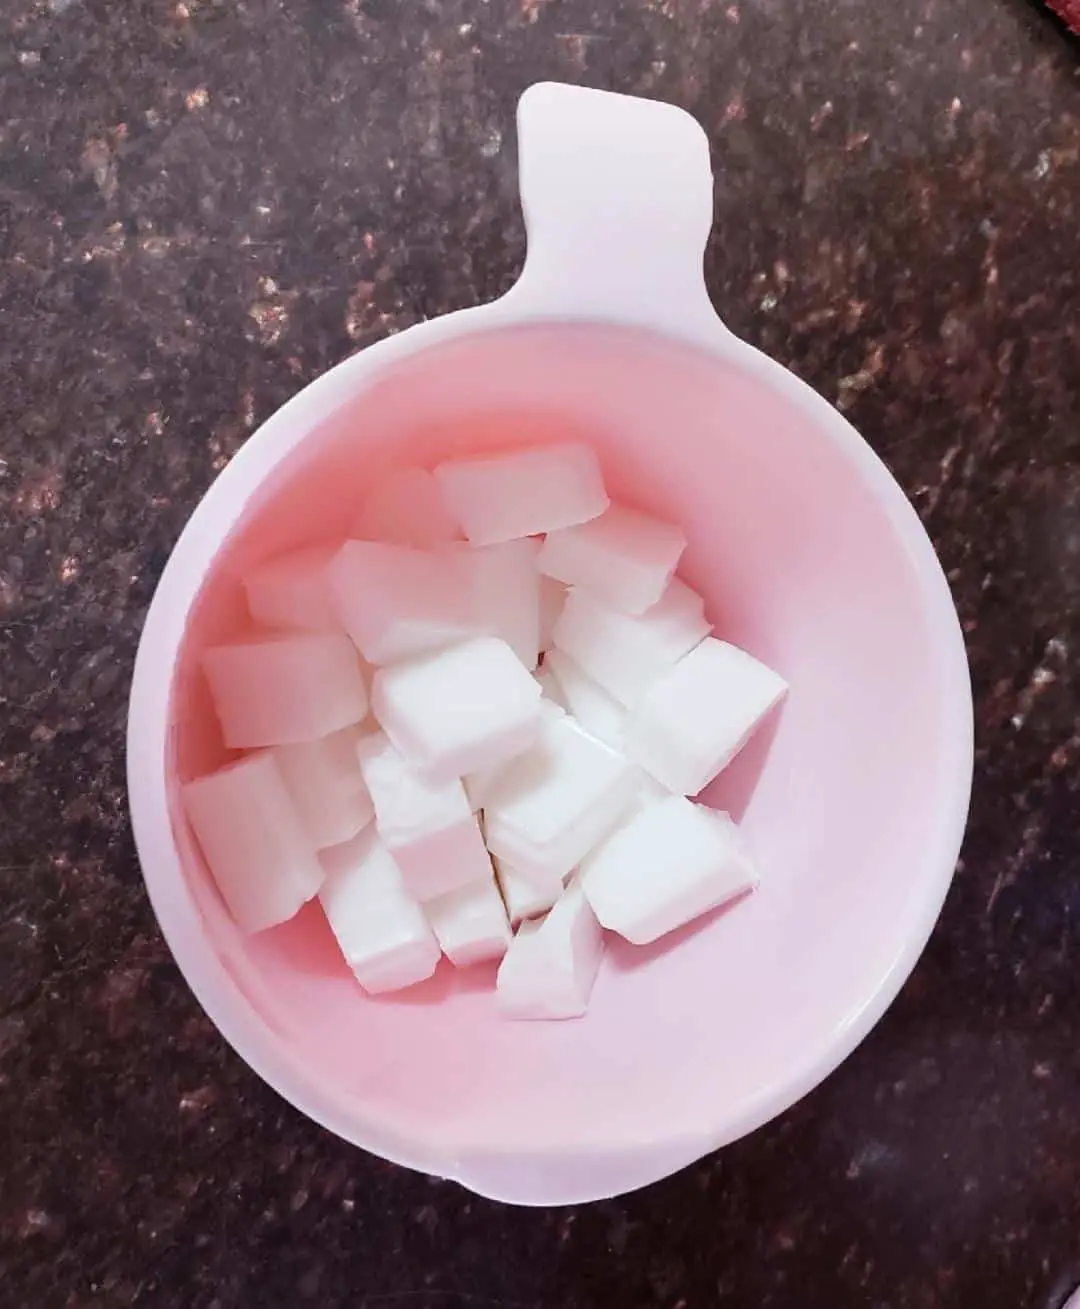
Place the cubes into a microwavable container and heat them. How much time you heat them will depend on your microwave, but I suggest starting with thirty-second increments for one pound of soap.
Step 3
After taking the soap base out of the microwave you may notice that small chunks are floating around. That is okay, and they should melt if you stir them into the rest of the melted base.
Step 4
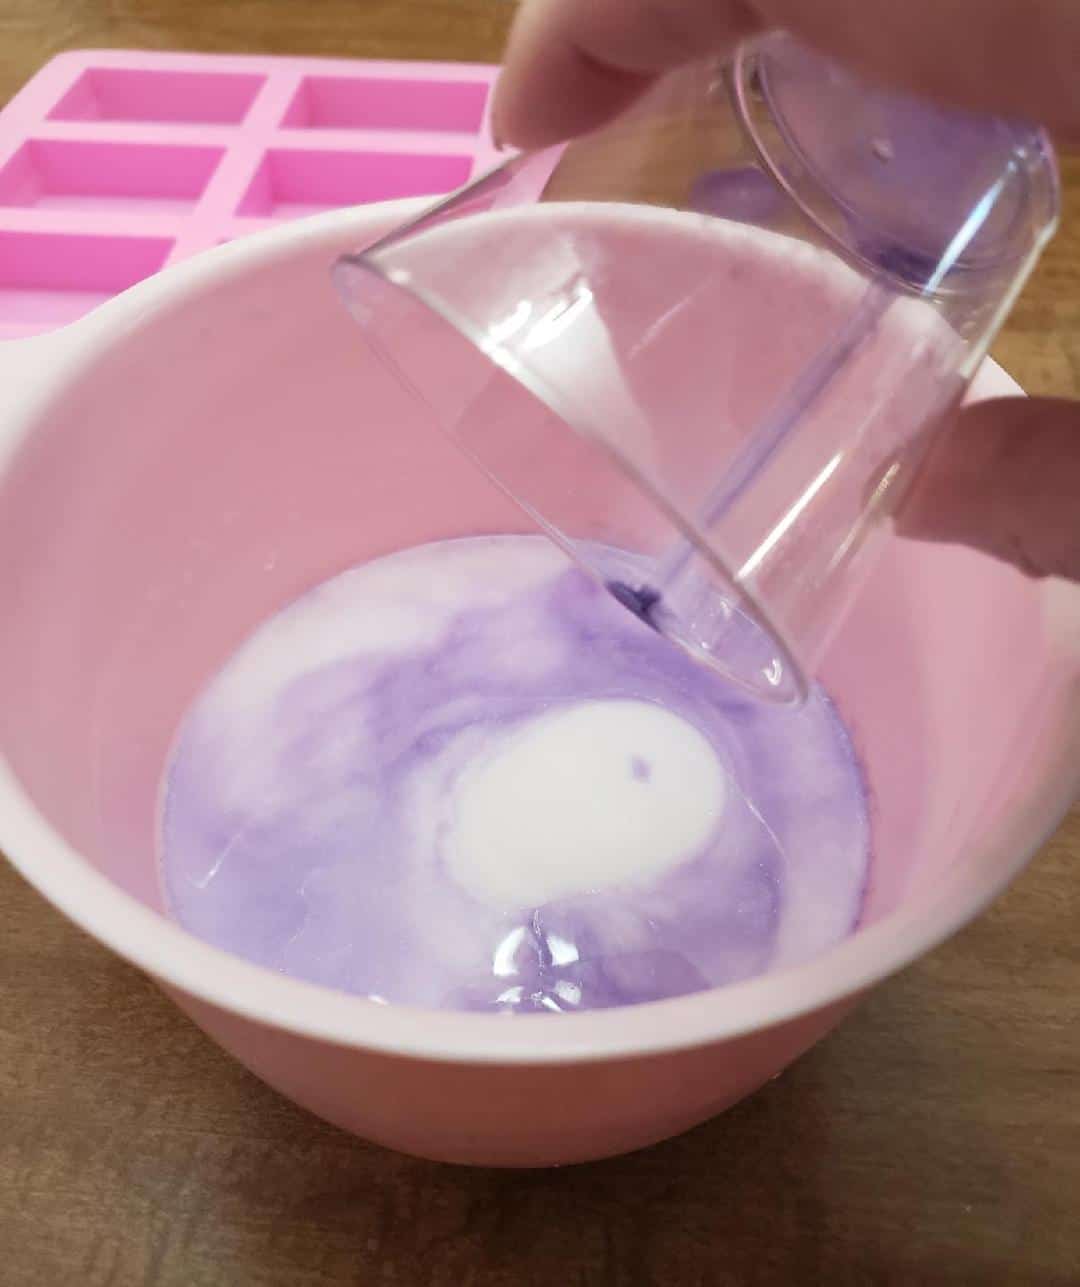
At this point, it is time to add in coloring and scents. The amount used of either is dependent on how dark and how strong of smell you want the bar to have.
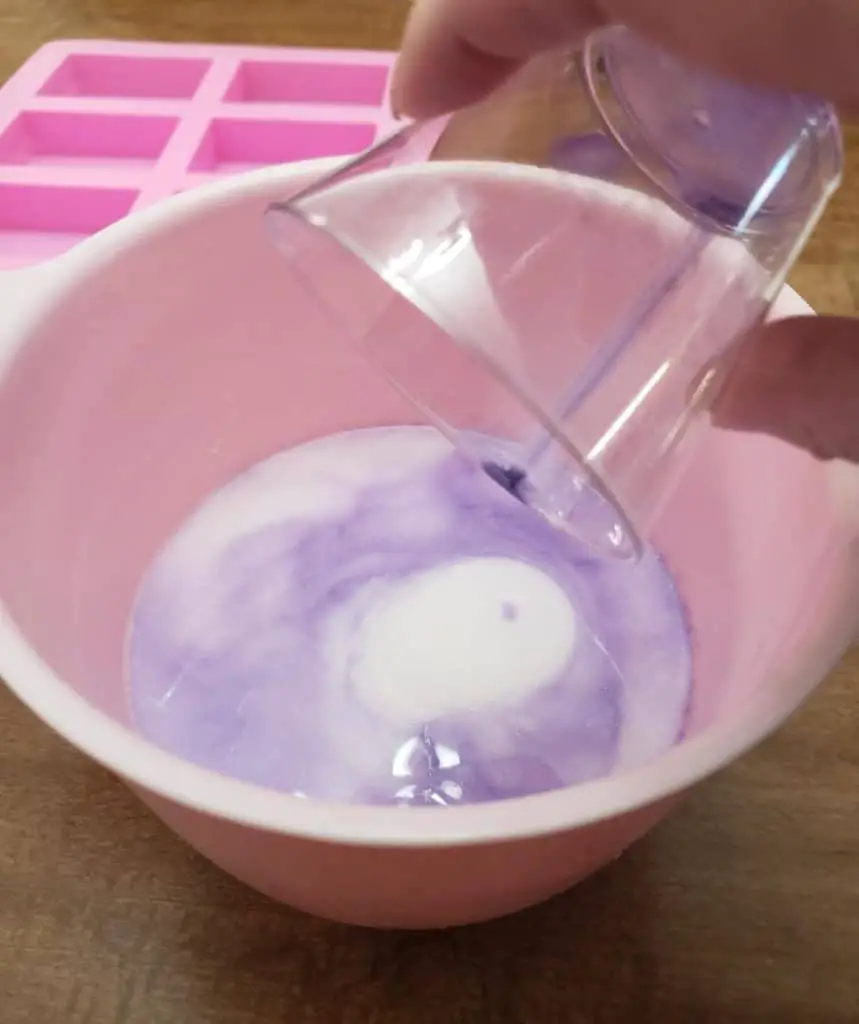
If you add mica powder straight to the soap base it will not mix well and will give the soap a speckled look rather than coloring the whole bar.
Instead, put the mica powder into a separate container and add a little isopropyl alcohol or water. Thoroughly mix the powder and the liquid before stirring it into the soap base. Add the scent in and stir everything together.
For about one pound of soap base, add a few pinches of mica powder and five to eight drops of scent or essential oil.
Step 5
Pour the melted base into the molds taking care not to overfill them.
If you are concerned with the appearance of the soap and do not want air bubbles forming on the top, take a spray bottle filled with isopropyl alcohol and spray the surface of the bars.
This will pop the bubbles and the alcohol will quickly
evaporate.
Also, if you would like to add a little more color design to the bars, additional coloring can be added once they have been poured into the molds. Simply, add an extra drop or two of liquid coloring to each bar and the mica should swirl around on its own.
Adding Mica Directly 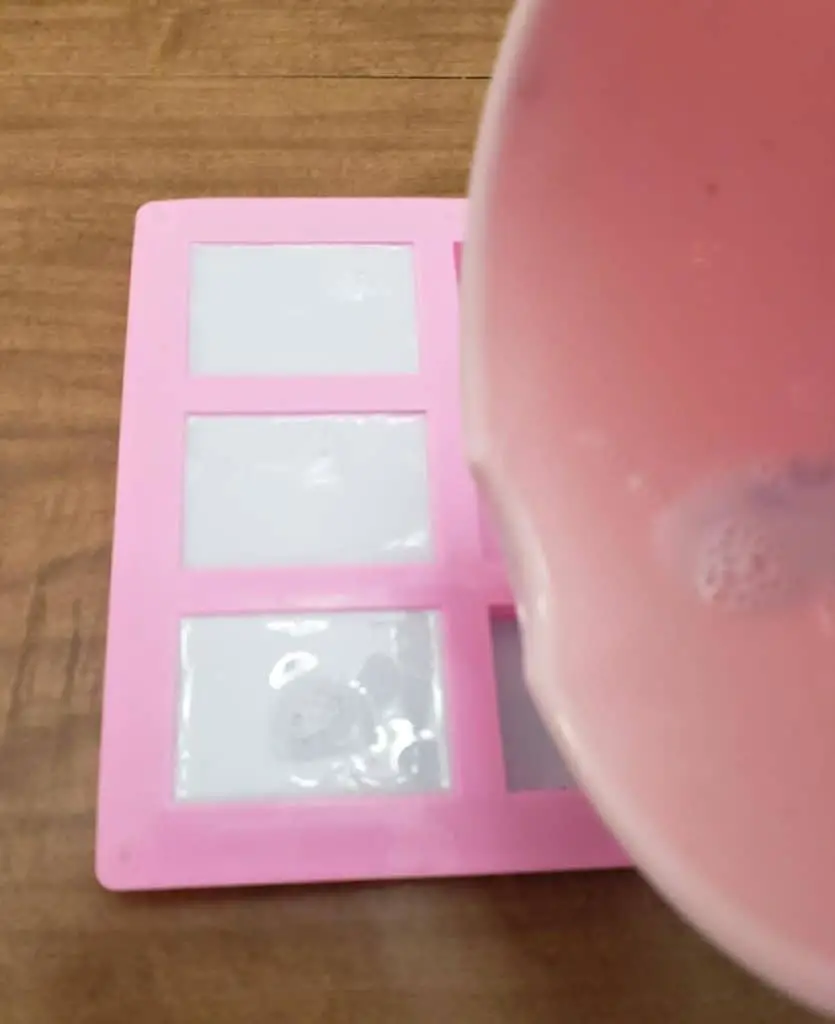
Pouring into molds 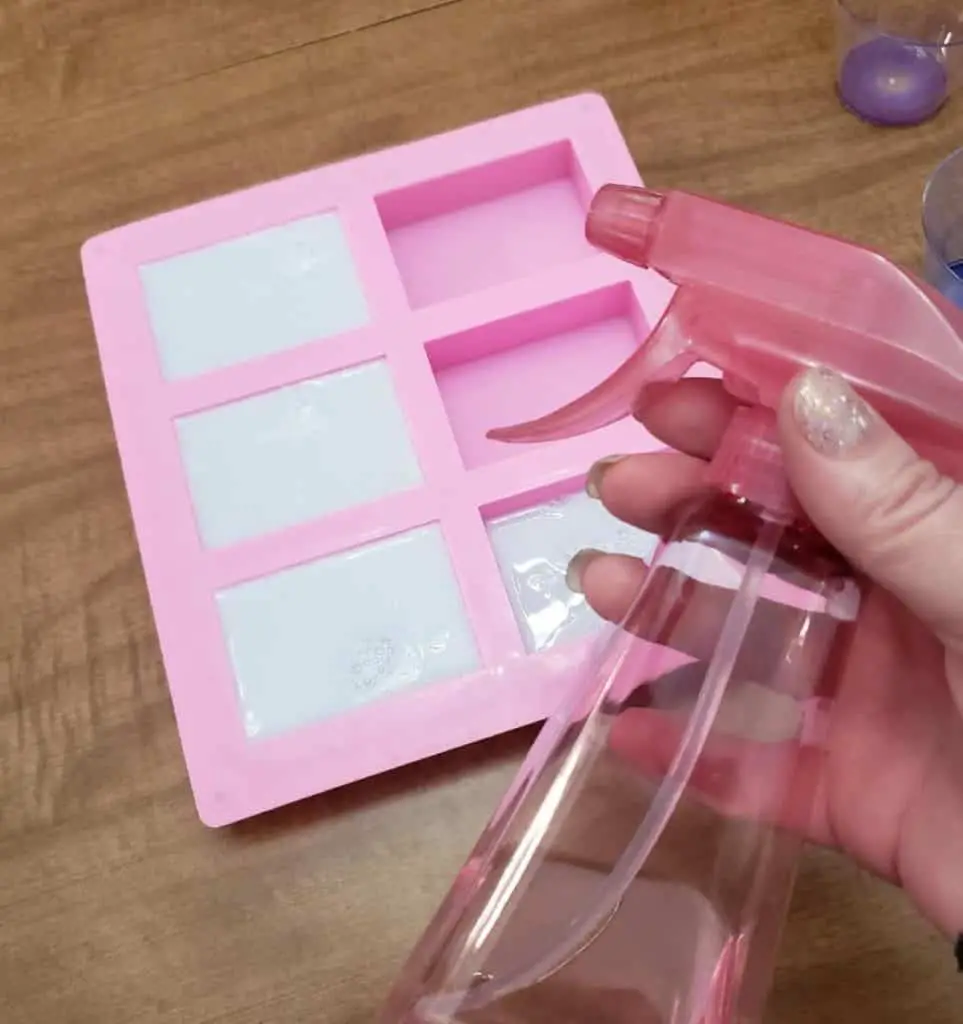
spraying with isopropyl alcohol 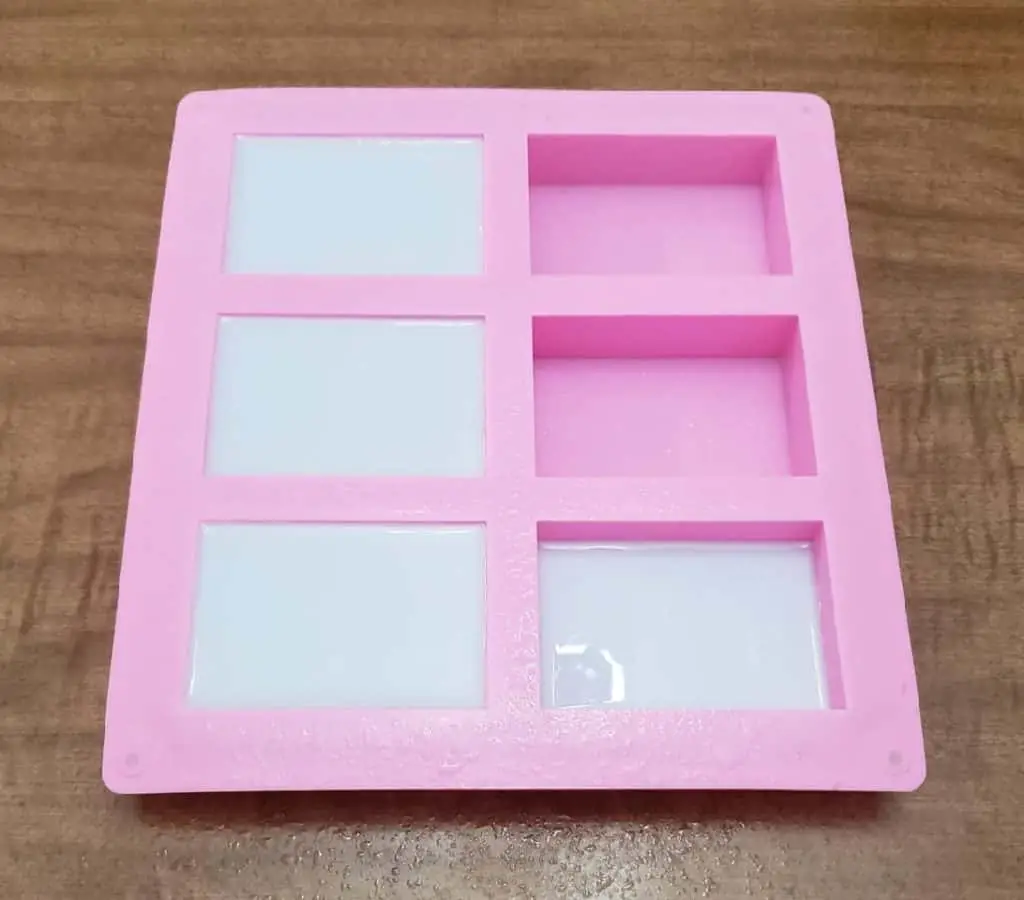
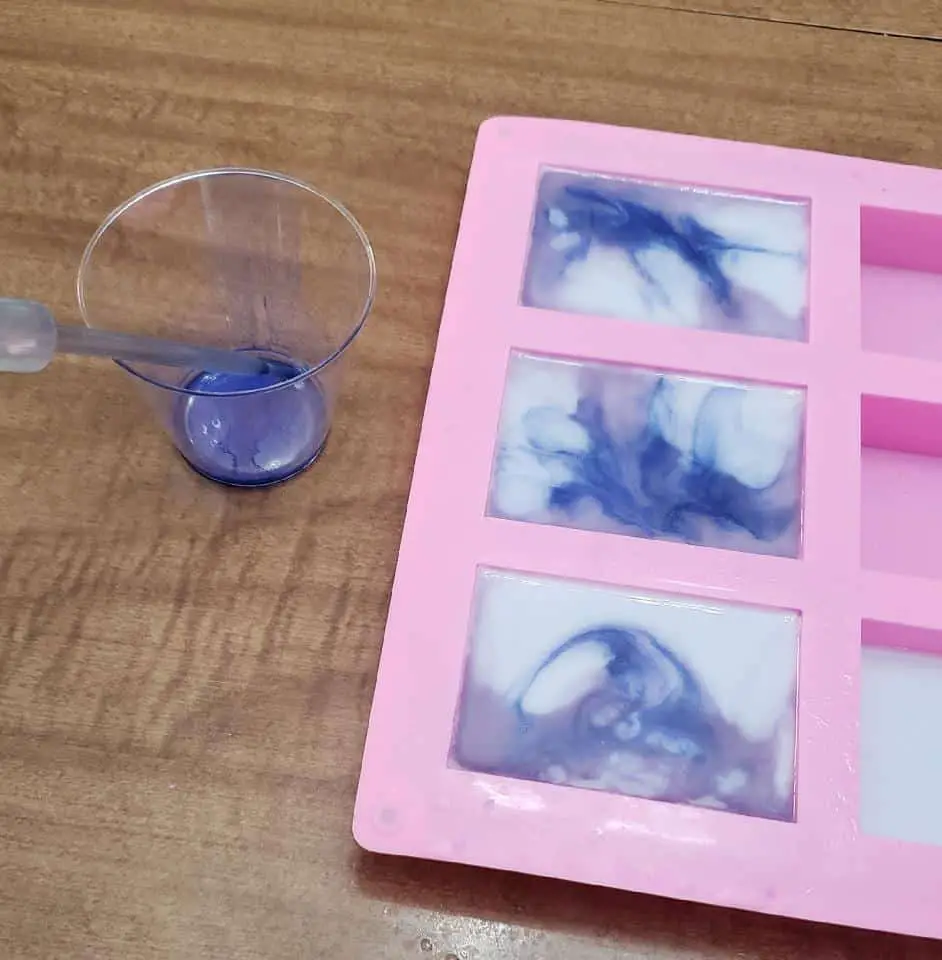
Adding Mica Swirls 
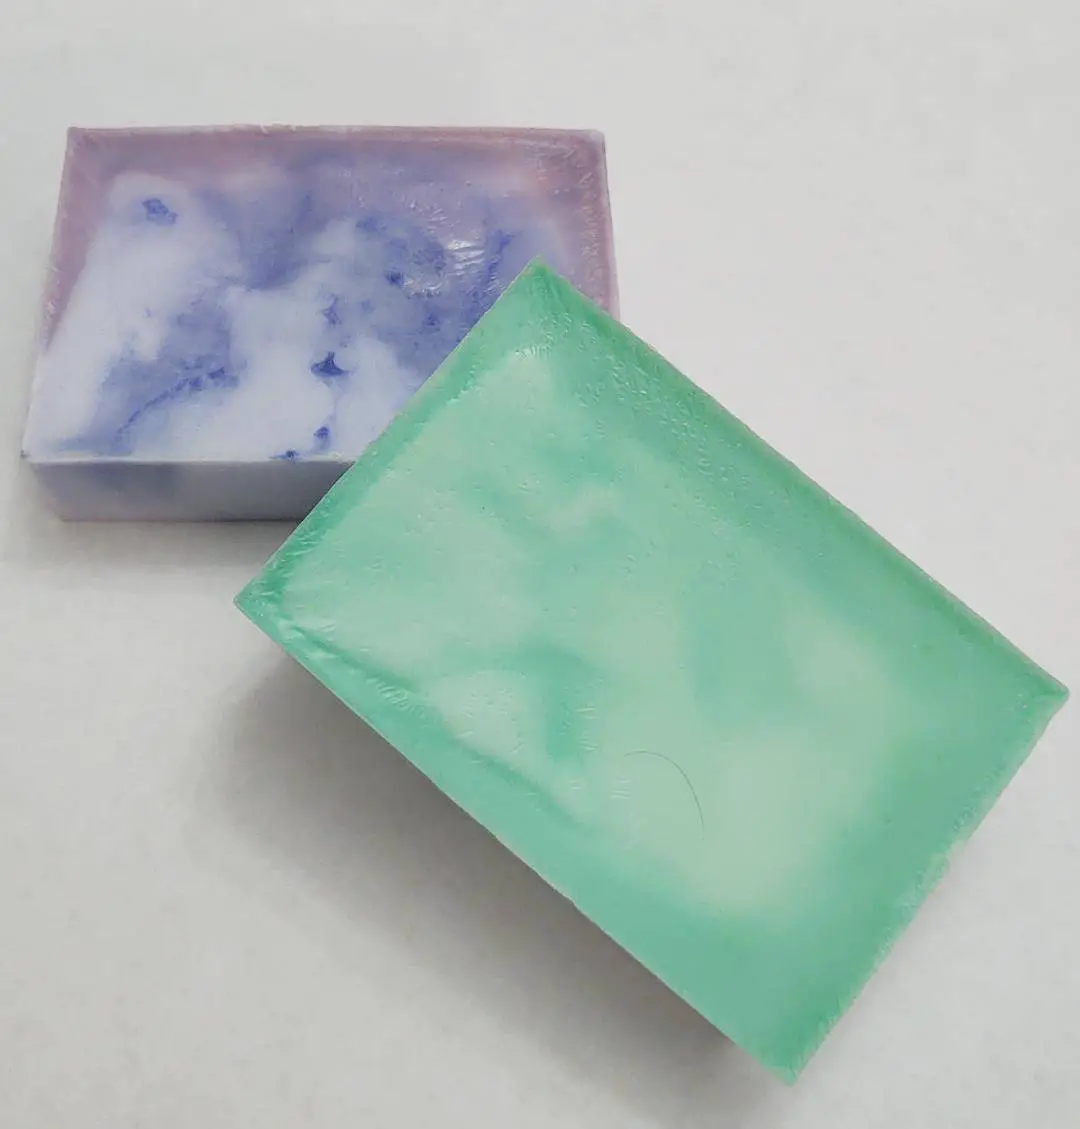
Finished Soap


Step 6
At room temperature, the bars should harden in about forty-five minutes to one hour. But the bars can sit in the molds overnight without hurting anything.
Step 7
Once the bars have hardened, simply pop them out of the mold and they are ready to use!
A Few Tips
Once melted, varying types of soap bases and the brand may cool at different rates. The process of adding color, scents, and mold pouring does not have to be rushed but it should be done promptly to avoid the melted base from hardening prematurely.
For this reason, it is helpful to have all supplies laid out and the color mixture ready to go before melting the soap base.
Unless you use a rubber spatula to remove all the melted soap base from the mixing bowl, some of it will stay behind, cool and harden onto the sides of the bowl.
If you are thrifty then the cooled soap on the sides of the bowl can be scrapped out and the scraps can be saved for later use. These scraps will quickly add up and can later be made into a “Frankenstein” bar.
Wrap Up
There you have it, the easiest way I have come across for making soap at home. With the number of colors, scents, and molds available, making soap at home is an incredibly creative and fun hobby to get into.
Thanks for ready and stay clean!
Have you ever made soap at home? Sound off in the comment section below and let us know about your experience!