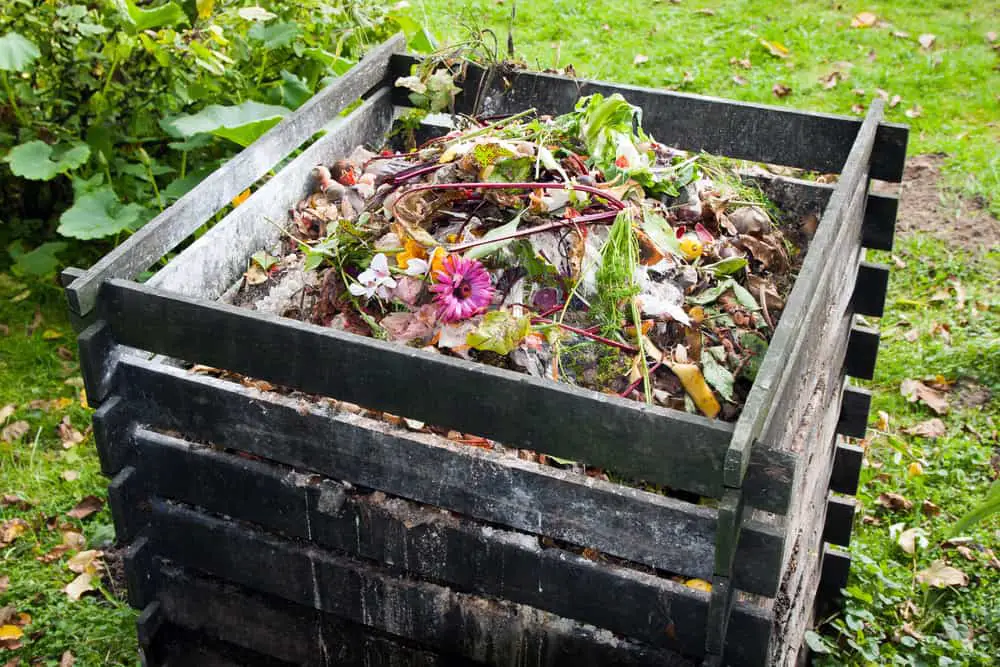
Vermicompost or worm composting bin is an easy and inexpensive DIY to keep odor away from your kitchen.
This bin turns kitchen scraps, and other waste like banana peels, onion trimmings, and lettuce leaves into a dark soil that smells like dirt.
It uses red wiggler worms to convert the trash into nutrient-rich humus, which can be used to grow delicious vegetables for your homestead garden.
For the correct information to be readily available, we have created an in-depth guide to creating a worm bin.
This guide also includes reasons you should have one and why they’re super helpful. If one thing is for sure, they are very underrated for what they are and what they can do for you.
Creating & Maintaining a Simple Worm Bin
1: What You Need
Before you begin, gather the equipment that you will need to make a simple worm bin. Prepare a bin and any food scraps, melon rinds, leaves, peels, and skins.
You can take eggshells but not the entire egg. To obtain fiber clothing; you can utilize any old t-shirts or socks for this purpose.
If you are going to add tea bags, remember to remove the staple from the bag. Keep a natural yarn or string as well.
You can add feathers or hair of your pets like cats or dogs if you have one.
In reality, just about anything can be added, but don’t add anything that may already be rotten, such as rotten tomatoes.
By doing this, you may contaminate the bin with mold, which isn’t exactly the best thing to be putting in the garden.
2: Prepare The Base of The Bin

After you’ve accumulated all the necessary material to create your worm bin, start utilizing them one by one. Take the bin, which should be approximately the size of 16″ x 24″ x 8″.
Clean and dry it properly before you put anything inside it. If you are using a wooden bin, you can cover it with a plastic covering.
The next step is to prepare the bedding of your bin. Add the newspaper strips, which will provide oxygen, water, and food to the worms.
Avoid color papers that could be toxic for worms.
Doing this will ensure that the worms can have plenty of food lying around while making the bin a good area for composting.
3: Add The Worms
Once you have added the newspaper to the base, add water to make a sponge-like texture. Make sure the bedding is fluffy before you move to the next step.
Now, add 3 to 4 cups of soil to the bin. The soil serves to introduce beneficial microorganisms, which will help make sure that the bin flourishes.
Soil particles also aid in the digestive process of worms.
Once you have done this, add the worms to the bin. However, before you place the worms, check their weight or volume on the scale.
The measurements are essential to know how much feed should be added afterward.
4: Feed The Worms
At this point, It’s time to feed your worm with fruits and vegetables. You should add the amount of food that is approximately three times the weight of worms.
The cores, rinds, and peels you usually throw away will be used as food for red worms.
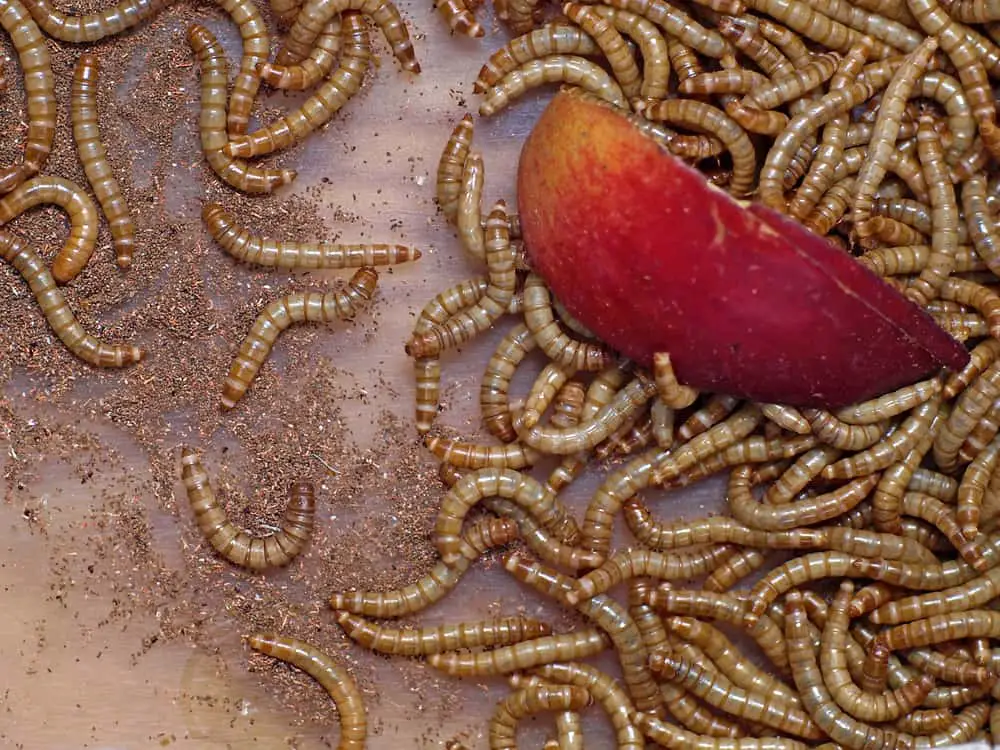
Keep in mind that the number of citrus fruits should be controlled, and avoid adding bones, dairy products, meats, and oily food items.
I also suggest cutting the food scraps into smaller pieces.
Ensure that you maintain a close eye on the worms and whether they are eating or not.
5: Maintain The Bin
Making a worm bin is one task, but maintaining it is another. Place a layer of dry newspaper on top of the spongy bedding.
The dry newspaper will help lock the moisture within the bedding and help prevent any fruit flies from making a home within the worm bin.
Additionally, it will keep the odor of food scraps within the bin.
Most importantly, keep the bin covered with a plastic lid or a cloth keeping it lightly open to receive some air.
Lastly, choose a suitable spot for the bin to stay while keeping it away from windows and heaters.
Why It’s Useful
Pathogen Suppression and Pest Suppression
It is commonly known that soil-borne plant diseases can be suppressed significantly by adding compost to them.
However, there are a few pathogens like Plasmodiophora and oxysporum that are not spurred by regular compost. The studies have shown the efficiency of vermicompost in this respect.
The evidence indicates that vermicompost does not work by killing the pathogens in the soil. Instead, it suppresses the pathogens from becoming harmful to the soil or attacking the plants.
Vermicompost also works to suppress pests in the soil, the way it works for pathogens. It does not repel or kill the pests; it just helps stave off the attack.
Waste Management
For ages, science has been working towards finding appropriate means of waste management. Every solution comes with some possible complications or hazards to the environment.
Vermicomposting is an excellent way to manage kitchen waste. It’s an environment-friendly, cost-effective means that is extensively utilized worldwide.
Vermicomposting involves converting the biodegradable organic wastes into valuable products such as worm castings and vermicast tea.
The food scraps in the kitchen bin give a foul odor to your kitchen but placing a worm bin will keep the wicked away, and the waste of your food will be used to feed the worms.
Plant Growth Regulation and Higher Yields
If you plan to grow your home garden and look for some compost for fruits and vegetables quick and healthy growth, vermicompost is your friend.
The studies have revealed that the application of worm casting enhances the yield of crops like strawberries, tomatoes, and peppers.
It is believed to stimulate soil microbial activity by increasing oxygen availability, improving soil porosity, adding nutrients, and maintaining normal soil temperature.
Moreover, some vermicompost is believed to have certain hormones that could regulate and promote plant growth.
Frequently Asked Questions
What is The Cost of Creating Vermicomposting?
You will get the food scraps after you finish your daily meal and simply toss the biodegradable items into the bin. For the bin, a plastic container can be used.
You will need to get the worms from the shop that are not already deceased. Old newspapers can be used for making bedding. In short, it’s very cheap to start.
What Kind of Worm Can I Use For Vermicomposting?
Both species are raised together, but they do not interbreed. They are commonly used to produce vermicompost and are considered to be the worms for this purpose.
Red wigglers are known to be cost-effective and readily available in the market.
What do Worms Need To Survive?
Moreover, they require moist and organic bedding to live. The presence of moisture and oxygen is essential for their survival.
Because of this, keep the lid of the container half-open to receive air. Place the bin in a corner with minimal light as worms are photosensitive; they need a dark environment.
Verdict
If your kitchen trash smells awful due to coffee grounds, orange peels, and plate scrapings, you can place a worm bin in your kitchen.
Even after purging the kitchen, there can sometimes still be a bad odor to the kitchen. Despite this, you can solve this problem with the help of red wiggles.
They will degrade the food scrap into compost and keep the smell within the bin. Later on, that compost can be used for plant growth in your garden, helping feed you and your family.