If you are like me then you need to have your morning coffee, afternoon coffee, and evening coffee. Sometimes last year I wrote an article on how to make coffee when the power goes out. I was going to feature a percolator in that article but not everyone has one.
So, instead, I used a cooking pot, which everyone has, and heated it over a camp stove in my backyard. My wife is used to my oddball behavior, but I am fairly sure the neighbors did a double take.
Anyway, I have prepared coffee in all sorts of ways. I have used a French press, espresso machine, countertop brewers, instant coffee, and cowboy coffee. But one of my favorite ways is to brew coffee using a percolator.
This method is like making cowboy coffee with one key difference. A percolator keeps the coffee grinds separated from the liquid, at least for the most part.
Also, cowboy coffee is usually prepared over an outdoor fire whereas a percolator can be used both outdoors and indoors.
What is a Coffee Percolator?

I would not be too surprised if you have not heard of a percolator because they are not used nearly as much since the introduction of electric coffee makers, like a Mr. Coffee.
But this is how my parents and possibly your parents or grandparents, grew up making coffee.
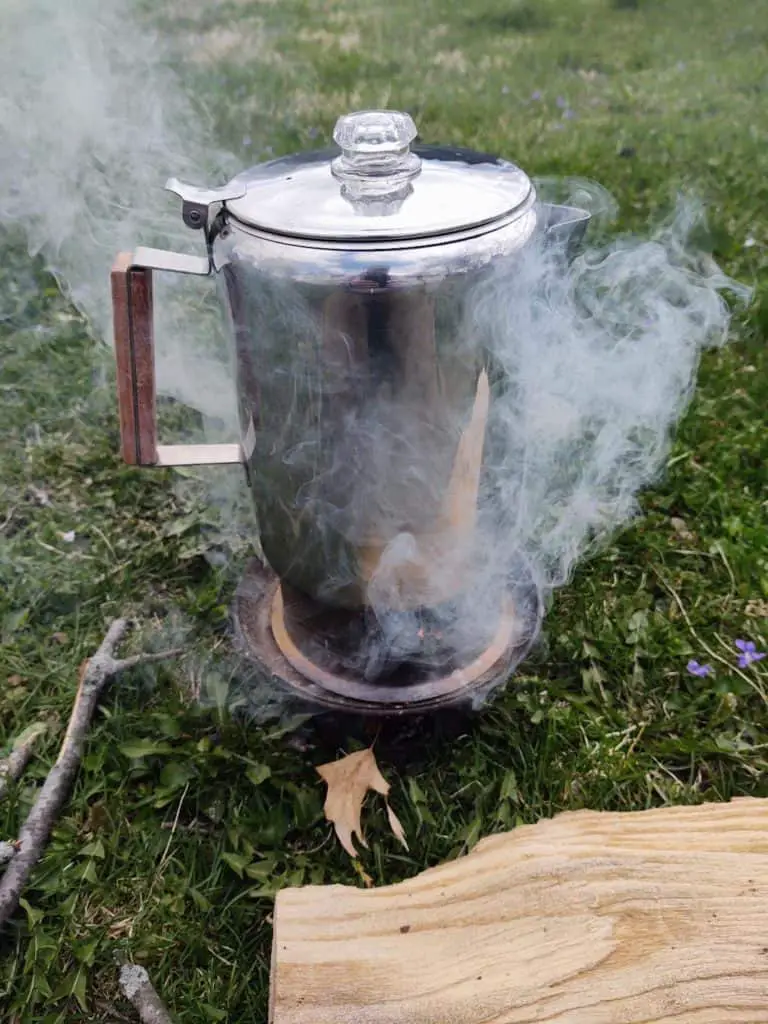
A percolator looks very similar to a tea kettle only taller. It is usually made from metal or glass so that it is safe to use over a heat source, like a flame.
This makes it different from modern coffee makers because it does not rely on electricity for it to operate unless of course, you are using a hot plate or an electric stove.
A percolator is also a self-contained unit. It holds the coffee grounds, the water to make the coffee, and the finished coffee all in one. Pretty handy!
How Does it Work?
Understanding how a percolator works is quite simple, but first, we need to take a closer look inside.
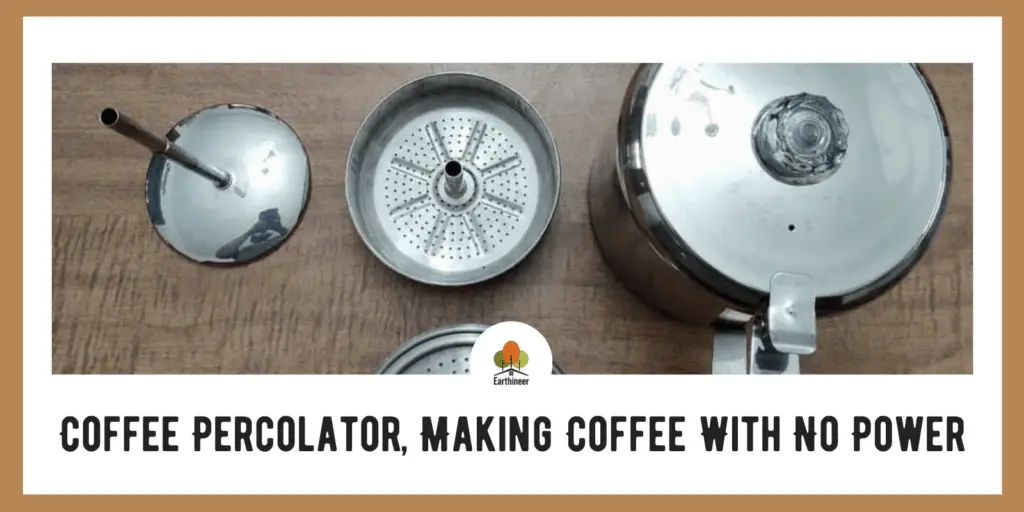
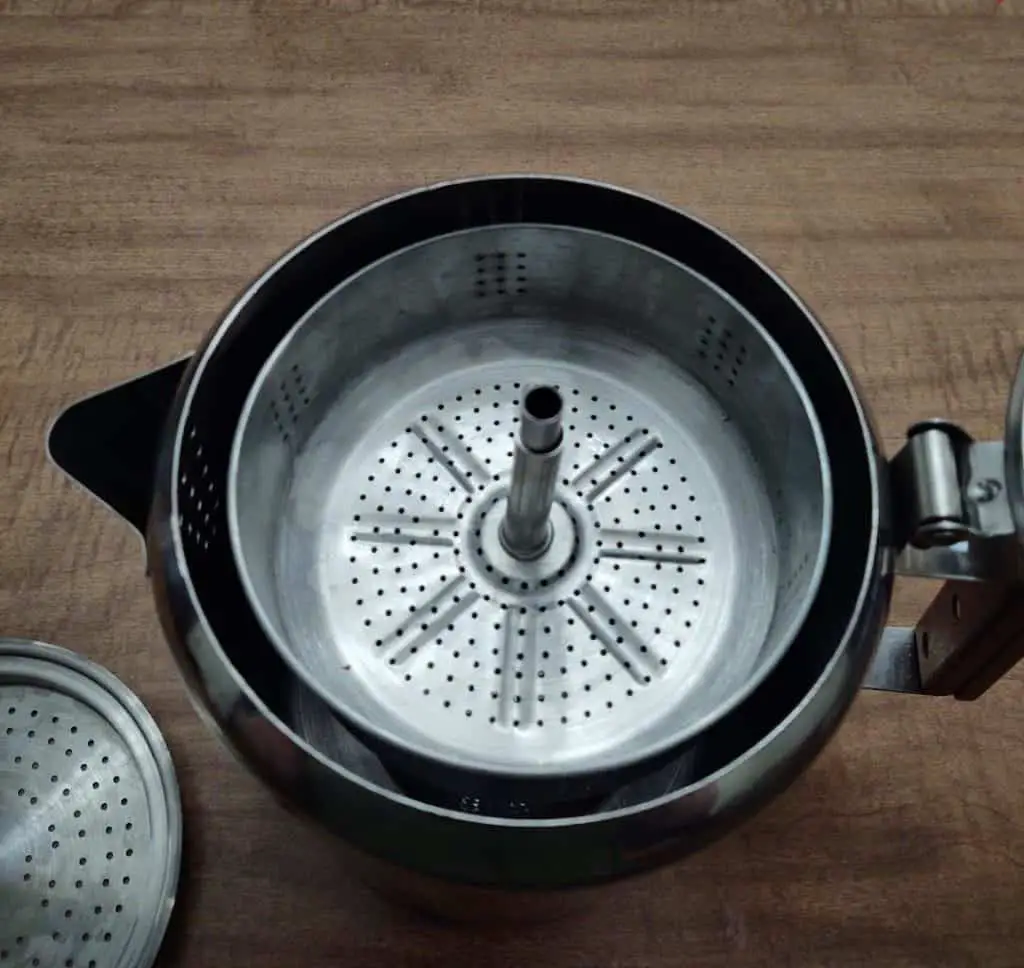
A percolator has a few different parts to it. After opening the lid, you will see a basket on top that has drain holes in it. This is where the coffee grounds are added.
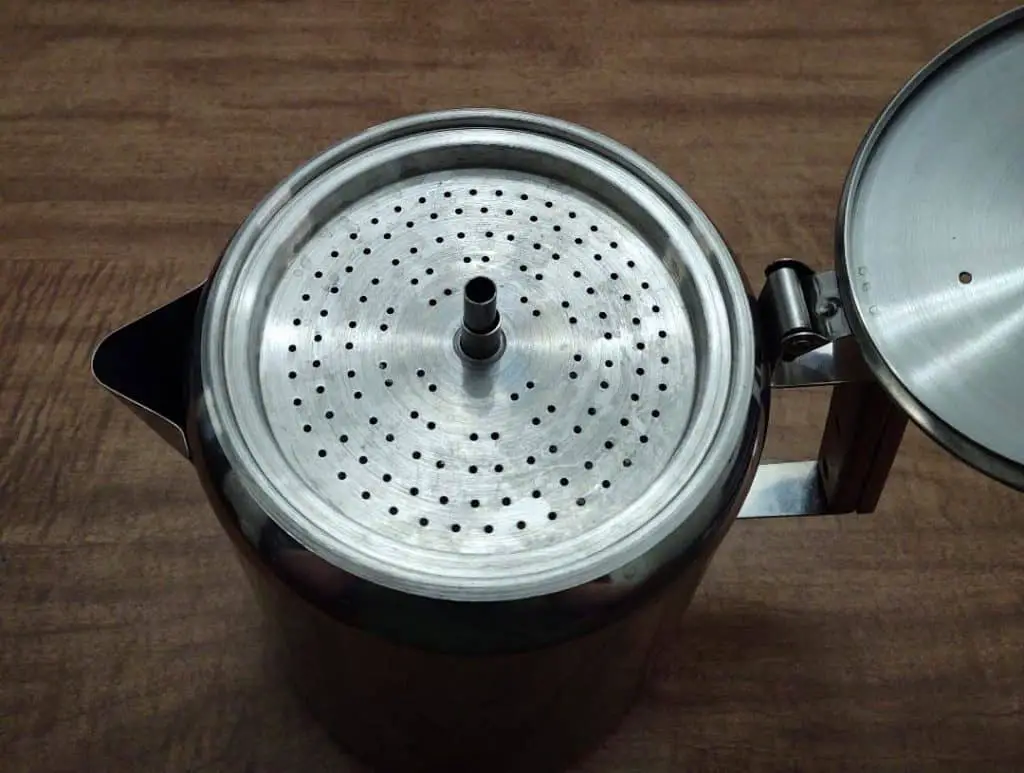
On top of the basket is a tube that leads down into the carafe and is connected to a circular disc that rests on the bottom of the carafe. A another lid with holes sits on top of the basket is the last thing to install before brewing.
Lastly, there is a small glass knob on the top exterior of the lid that acts as a sight glass.
Put all this together and the following is how a percolator works.
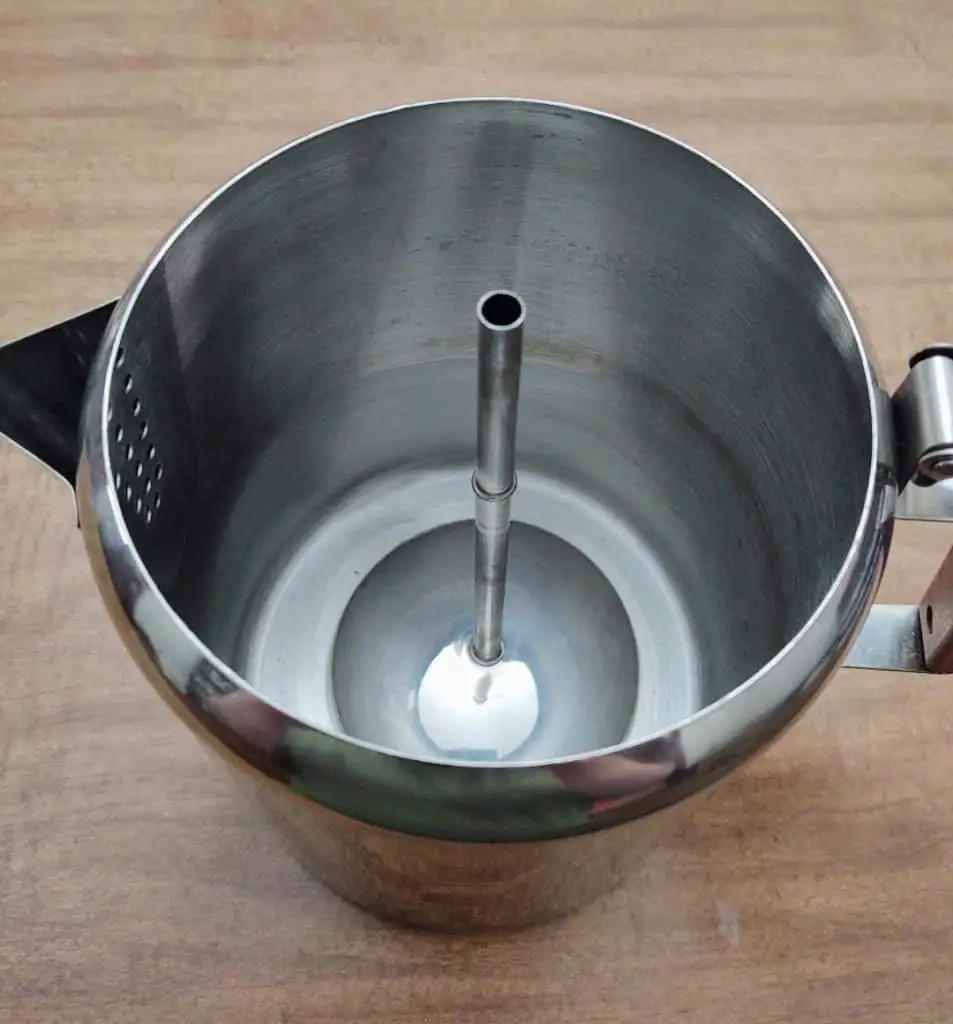
The carafe is first filled with the desired amount of water. The coffee grounds are put into the basket and the long tube are put into the carafe. The basket is covered with its lid, the carafe lid is shut, and the whole percolator is placed onto a heat source.
As the water boils under the circular disc, water is forced up the metal tube. This hot water exits the tube above the basket and soaks into the coffee grounds.
The water then travels through the holes in the basket and drips back down into the carafe. This whole process is repeated as the water continues to boil.
The glass top on the lid acts as a sight glass. Water will bubble into this area when it exits the tube. This helps to time how long the coffee is brewed for.
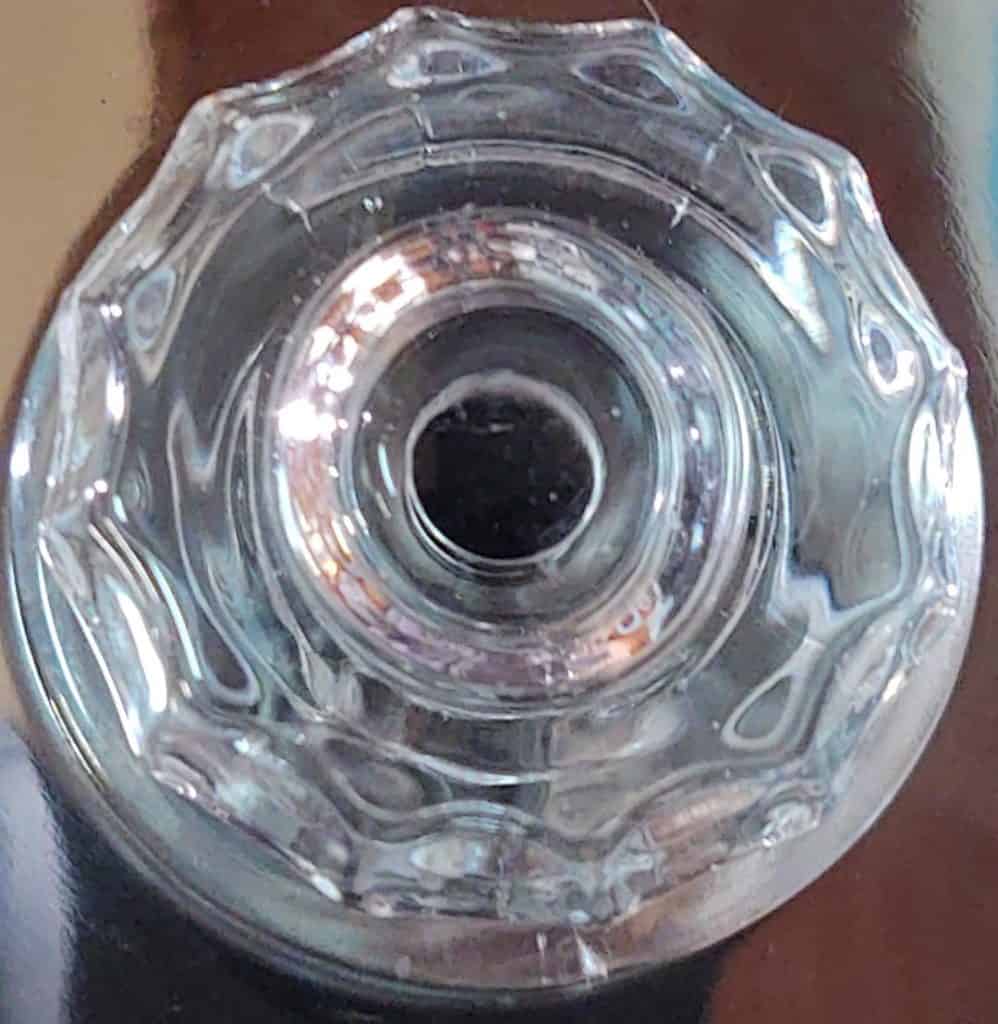
At first, the water will be clear when it bubbles into the sight glass. As the coffee is brewed the water will begin to turn a brown.
No Power, No Problem!
I first need to make a small correction to something I said earlier in the article. I said that percolators do not rely on electricity. This is only half true because there are electric countertop percolators. However, I do not use those and for this article, they will obviously not work.
So, the power has gone out, but you still need your morning cup of coffee, what do you do?
You are going to need a heat source, which in this case means a small campfire or a camp stove that uses a fuel canister.
Once you have your heat source figured out it is time to get brewing!
The first thing that I do is remove the basket assembly and set it off to the side. I then fill the carafe with water.
How much water you use is going to depend on how much coffee you want to make.
If I am making coffee, I almost always make a whole pot, so I fill the carafe all the way up. Be sure to keep the water level below the level of the pouring spout, otherwise water will spill out when it is boiling.
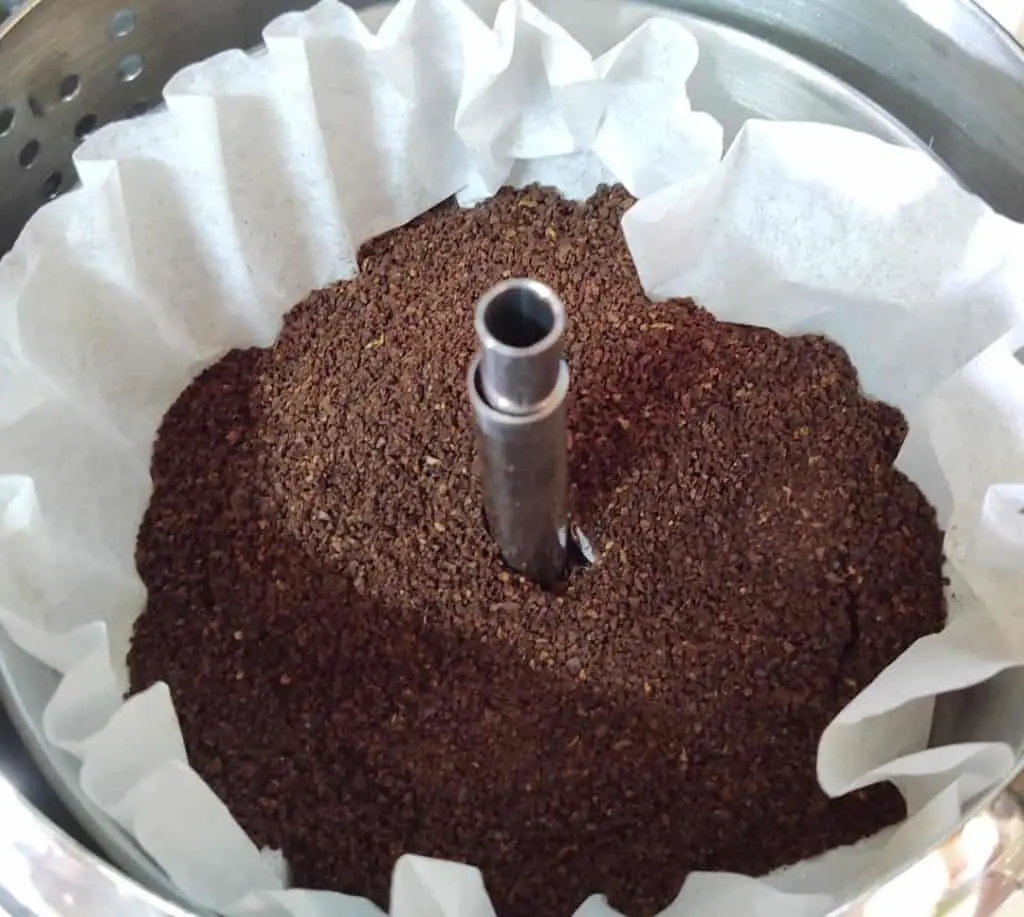
Next, I put some coffee grounds into the basket and place the basket back into the carafe. The drain holes in the basket are small and usually do a good job of keeping the grounds out. But sometimes a few do get through.
If you want zero grounds in your coffee, there are special filters you can purchase that fit into the basket or you can use a more coarse ground.
My carafe serves 12 cups, so I generally use three scoops of coffee grounds per pot. Again, how much coffee grounds you use is going to depend on how you like your coffee so you may need to experiment a little.
All that is left is to shut the lid and boil the water.
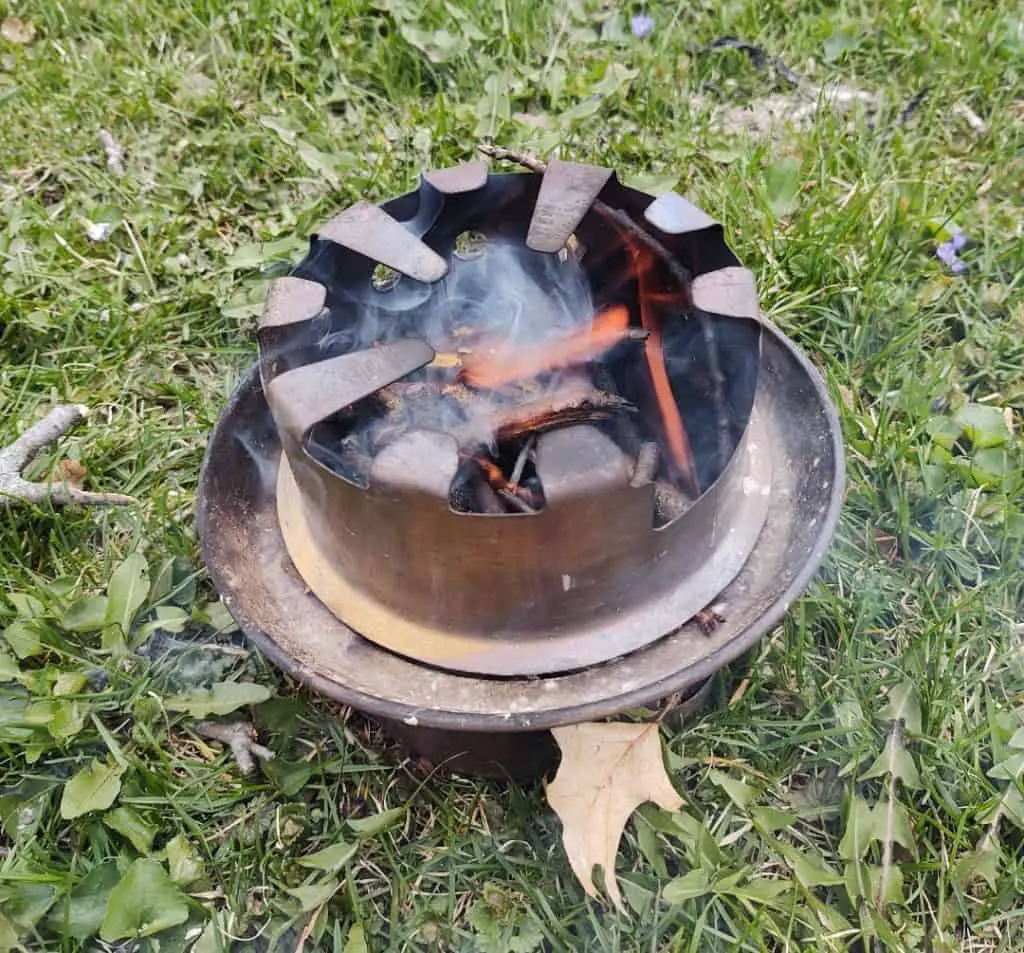
As I mentioned earlier, the percolator can be heated over a campfire, a biomass camp stove, or a camp stove that uses a fuel canister.
Depending on what the percolator is constructed from, you may want to be careful with how close the percolator is to the flames or how it is positioned.
As you can see, mine has a wood handle. It is heat resistant, but I would like to keep it from becoming charred. This is as easy as putting the percolator onto a base and only having the flames touch one side or by hanging it above the fire.
When the water begins to heat up you should start to see moisture forming on the inside of the glass top.
Then it will begin to boil and bubble (perk) inside the glass top.
Once the water turns a brown color, allow the coffee to continue to heat for about four minutes. After four minutes, remove the percolator from the heat source and allow it to slightly cool.
Here you go, a perfect cup of coffee made in less than ten minutes and without any electricity, cheers!
Percolator Pros and Cons
Pros
- Can be used indoors or outdoors
- Can be heated by a campfire, camp stove, hot plate, wood stove, and a gas or electric stove
- Easy to use
- Lightweight
- Can be used at home or for any outdoor adventure
- Affordable
- All in one unit
Cons
- Grounds can find their way into the coffee but that can be avoided by using a filter
- Requires a heat source
FAQs
Can regular coffee filters be used in the basket?
Is a percolator dishwasher safe?
Can a percolator be set directly on fire coals?
I do not like to subject mine to intense heat which is why I will usually raise it above the coals and flame by hanging or by making a base for it to sit on.
Will my percolator still work if the glass top breaks?
However, if you are out camping and are unable to replace the glass globe, I have seen people use aluminum foil to create a temporary top. This is not a permanent fix and it could cause a safety issue.
Replacement glass tops are usually cheap and are available online and at some stores. Just be sure that it fits your model.
Wrap Up
I love percolators for two reasons. First, they are more versatile than a conventional coffee maker. I can heat it on my stove at home or with any other outdoor heat source. This makes them great to have on a camping trip, in case of an emergency, or if the power goes out.
Secondly, I think coffee from a percolator tastes much better than coffee from most home countertop makers. It is not as bitter and goes down smooth. Of course, this is a personal opinion and yours may be different.
I hope my experience with a percolator has been informative and has possibly interested you in getting your own. They are great for everyday use but are especially useful for getting your coffee fix when the power has gone out.
How do you like to make coffee when the power is out? Sound off in the comment section below and let us know! Thanks for reading and keep percolating!